Monday, July 9, 2012

Nursery Door Sign


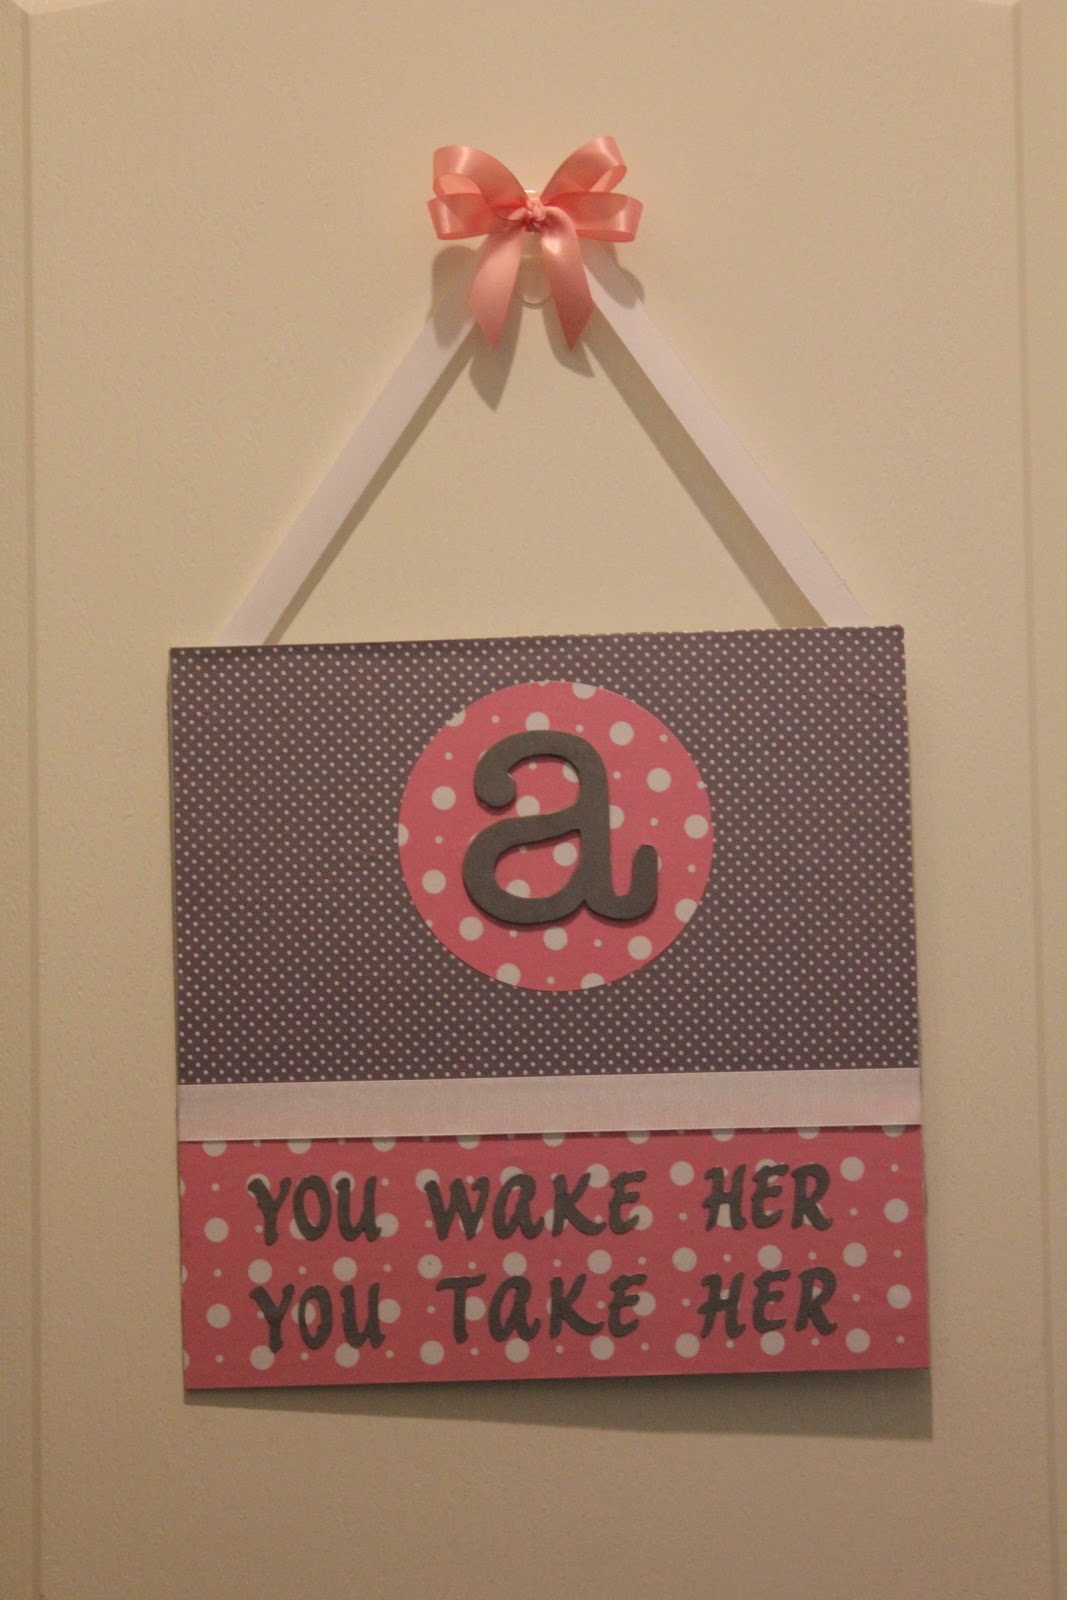
One of the last projects for Avery's nursery was a sign for the door.  I knew I wanted to do something in pink & grey.  I also knew I wanted an A or her name on it and I have loved the saying above for a while now.  Lots of people have this sort of sign on their front door.  But, I'm not too comfortable with announcing that I have a baby in my house so on the nursery door it goes!


Materials: 
plywood (I bought mine at JoAnn's for $1, I think it's 12x12)
acrylic paint
paint brush
Mod Podge
scrapbook paper
cricut or letter stickers
ribbon


Directions: 
Start with the plain piece of plywood

This is how thin the plywood is. 


I painted the back of the board grey.  I applied 2 coats and finished it off with a layer of Mod Podge. 


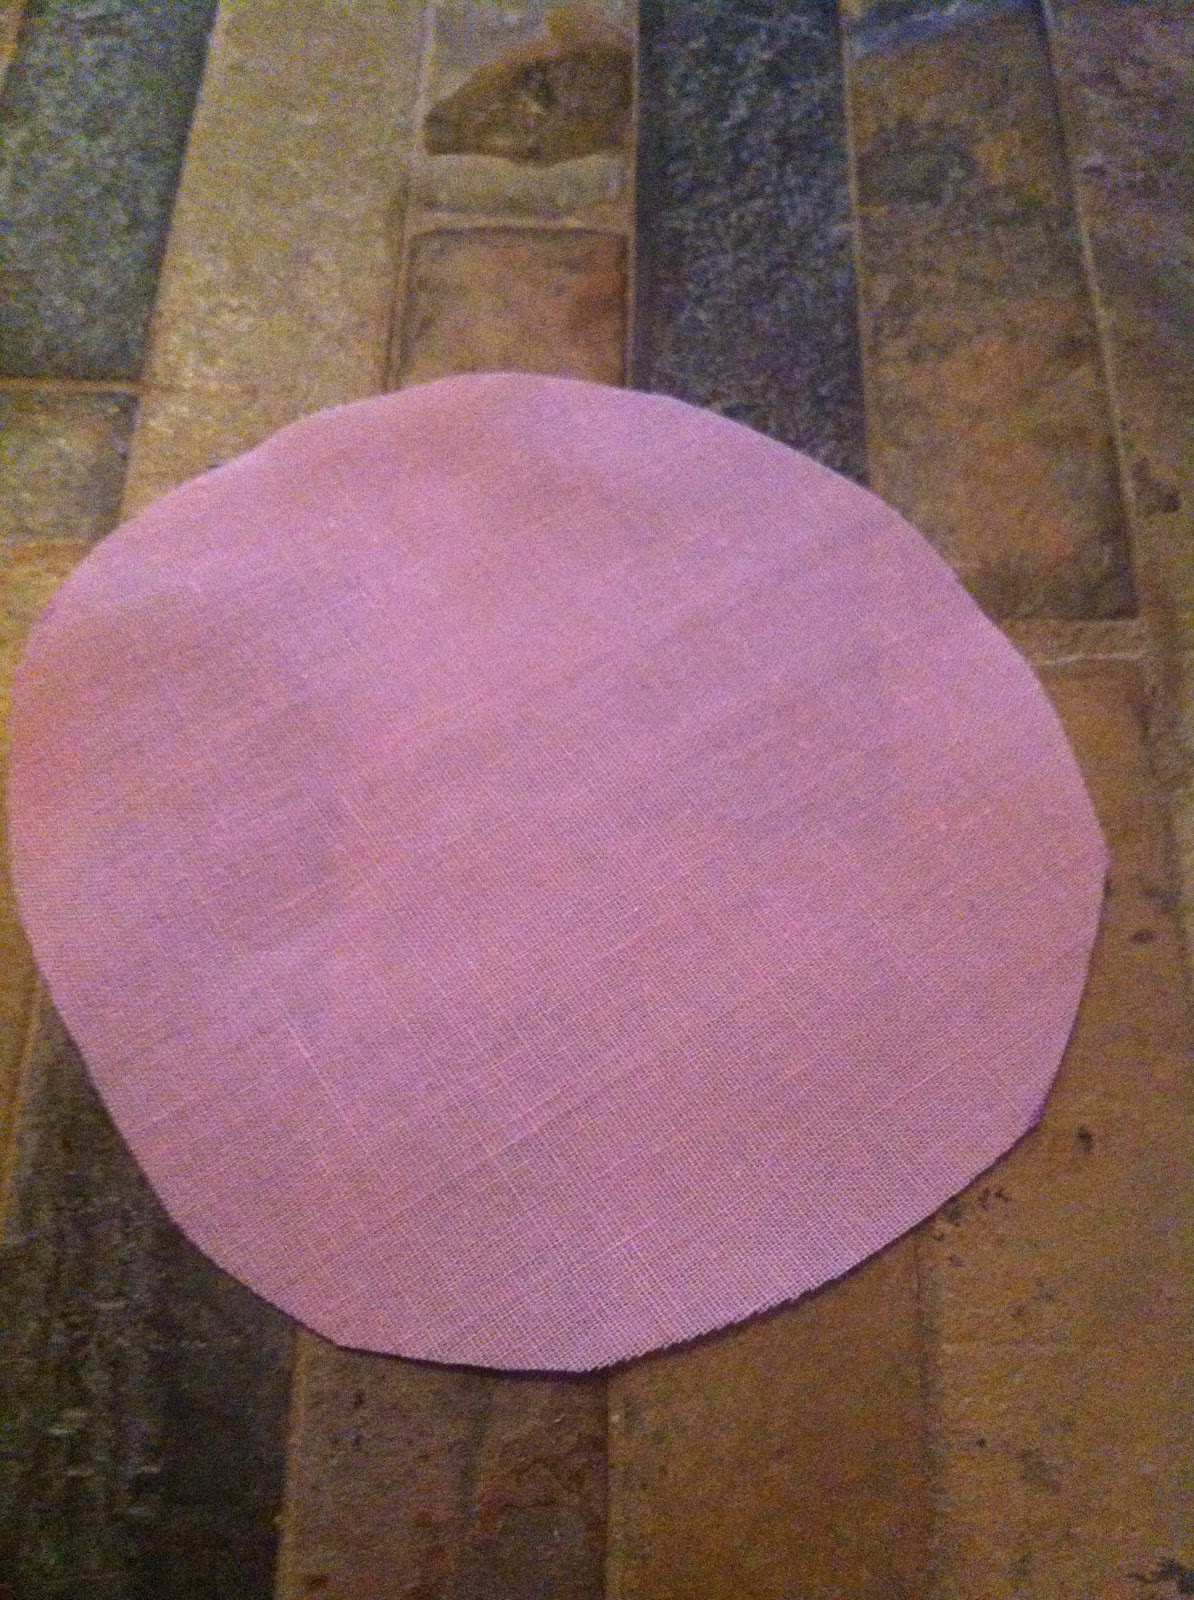
After that, I gathered my scrapbook paper.  I put a larger piece of the grey polka dot on the top of the wood and a smaller piece of the pink polka dots on the bottom.  I measured the paper, trimmed it and adhered it with Mod Podge to the unpainted side of the sign.  Make sure when using Mod Podge, that there aren't any bubbles under the paper.  


Next, I used my Cricut to cut the letters for the "You Wake Her, You Take Her" portion of the sign.  I adhered the letters with Mod Podge.  Make sure to center them first before you glue them on.  After that, I used a piece of chip board for the A, which was already cut.  I covered it with grey paper and glued it on top of the pink center.   Once the bottom layers of Mod Podge are dry, apply a layer or two to the top to seal it.  


To finish it off, I added a piece of white ribbon to separate the pink & grey.  I hot glued the ribbon to the back of the sign to keep it straight.  I also added ribbon to the top in order to hang it from a hook.


Thursday, July 5, 2012

Sprinkled with Love Shower

A friend of mine was having her third child and I offered to throw her a small shower at work in celebration of baby #3.  I'm personally not a huge fan of second or third showers, especially if it's the same gender.  But, I love the idea of a sprinkle.  Something small to celebrate the baby and mom with family and close friends.  There have been tons of ideas on Pinterest, which is what I used when planning the shower.  It was a shower for just over 10 people and we went with the sprinkle theme.  

Sprinkled with Love Banner made using the cricut


The food.  We did just desserts since it was an early afternoon event.  There was brownies (with sprinkles of course), ice cream with a varitey of toppings, sprinkle covered marshmallows, mini cupcakes and chocolate covered pretzels.  
 Drinks.  Soda and punch were served. 
 Cupcake toppers I made.  


 Brownies using the new Pampered Chef brownie pan, love it!

Marshmallow pops.  Marshmallows dipped in melted pink candy coating pieces, then dipped in sprinkles.  I stuck leftover pink straws cut in half in the top.  


 I made mini diaper cakes as centerpieces.  


Pesto Shrimp Pasta


 In this last trimester, I've been trying to eat fish once a week.  Not only is it good for me, it's good for the bebe.  I chose this recipe because I love pesto and already had a jar in my fridge.  This dinner took only about 20 minutes to make and it tasted like it was from a restaurant.  It was that good. Enjoy!


This recipe was adapted from Budget Bytes, a new site I've found from Pinterest. 


Ingredients: 
2 Tbsp olive oil
2 Cloves Garlic
3/4 lb, peeled, deveined shrimp 
1 pint cherry tomatoes, halved
1 box (16 oz) whole wheat spaghetti  
1 8 oz. jar pesto
2-3 Tbsp. fresh parsley
salt and pepper to taste 


Directions:

1. Cook the pasta according to the package directions. 2.  As soon as you start the pasta water, heat a large skillet with the olive oil over medium heat. While the pan is heating, mince the garlic then add to the pan. Cook the garlic for about 1-2 minutes.

3. Turn the heat on the skillet up to medium high and add the shrimp (thawed, drained). Saute the shrimp and garlic until the shrimp are fully cooked (about 5 minutes). They will be pink and no longer transparent when fully cooked.

4.  Once the shrimp is cooked, add the tomatoes. Season the pan with salt and pepper and continue to cook until the tomatoes start to break down just slightly (about 5 min).

5. When the pasta is finished, drain it. Then, add the pesto sauce to the pan and mix until all the pasta is coated.  Last, add the pesto covered pasta to the skillet with the tomatoes, garlic and shrimp.  Stir until everything is evenly coated with pesto. Sprinkle with fresh parsley and serve!


Tuesday, July 3, 2012

Wipes Case Band

I've had this tutorial pinned for about a year now.  I knew as soon as we had a little one on the way, it was something I wanted to make.  I don't have a wipes warmer for the nursery.  I plan on using a regular wipes case and refilling it when it runs out.  Of course, I want the case to match the nursery. So, I decided on a grey case with pink fabric flowers attached.  I was very pleased with how easy this was to make.  It looks fabulous in the nursery and is soo much better then the normal case.  

So, head on over to Less Cake More Frosting for the tutorial. And if you're looking for fabric flower tutorials, I found a similar one here.  
PS.  I just hot glued the flowers onto the case, no sewing involved! 


Monday, July 2, 2012

Baby Shower Hostess Gift


I know my friends and family worked very hard on planning my baby shower.  I wanted to get them a small gift to show my appreciation.  I was inspired by a pin on pinterest using Bath & Body Works fresh picked scents.  I gave each one of my friends a hand soap, hand sanitizer, small body lotion and a cute matching note pad that I found at Michaels.  I also found these cute bags at Michaels as well.  To finish them off, I made the round tags myself using Print Shop.  
That's it.  A simple and inexpensive gift that best my girls loved.  


Friday, June 29, 2012

DIY Bow Board

Here is another project from Avery's nursery.  I already made a bow holder, but that didn't fit all of the flowers and bows she has.  So, I decided to make a bow board to hang on the back of her bedroom door.  

Materials:
1 canvas (mine was 16x20)
Fabric to cover canvas
staple gun
ribbon
spray adhesive
Fabric Pen


Directions: 
I started with my canvas and fabric. 


I ironed my fabric to get all of the creases out. 


Next, I laid my fabric on the ground and put the canvas on top.  


I left about 1 1/2 to 2 inches around all of the sides of the canvas and cut the extra fabric. 


Then, get your spray adhesive and spray the entire canvas front with it.  


Place your fabric on top of the canvas.  Smooth out any bumps or lines. 


Next, use your staple gun to staple the fabric on the back of the canvas.  I made sure to pull tight enough to keep the fabric smooth.  Continue doing that around all four sides of the canvas. 


Now, your board is done.  All you need to do now is create a place to hang the bows.  


I measured the length of my canvas (after deciding which way I wanted it to hang on the door).  


I marked the distance I wanted to put each piece of ribbon.  I think I did mine about 3 inches apart.  The mark below is the width of the ribbon, so I knew exactly where to put it. 


Cut the amount of ribbon you'll need.  I measured mine about 18 inches and cut 5 pieces.

After that, staple the ribbon to the back of the canvas on both ends.  


Trim off any excess ribbon or fabric.  


Ta da- you have your bow board.  You can hang it with ribbon or place it on hooks, like I did.  

Fill it with bows and you're good to go! 


Tuesday, June 26, 2012

DIY Fabric Pom Poms

After spending lots of time working on Avery's nursery, things were finally coming together.  The room was painted, the crib was set up, the decorations were coming in. One of my last DIY projects were these fabric pom poms.  Of course, these were Pinspired.  But most of the tutorials used lanterns and hot glue.  I couldn't imagine hot gluing every one of the fabric circles into these balls, so I tried it a different way.  I used styrofoam balls as my base and pinned in the fabric.  It was a simple but LONG process.  Now that it's said and done, I would spend countless hours making these again.  They really bring the nursery together, they are without a doubt my favorite project in her room.  


Materials: 
Styrofoam Balls (I used 6 inch for the light pink and 8 inch for the dark pink
Fabric (about 4 yards for the 2 light pink and 3 yards for the dark pink)
Lots and lots of sewing pins (I used over 500)
Ribbon
Scissors
Fabric Pen

Directions: 
1. Iron fabric to get all of the creases out. This is optional, but it makes the tracing and cutting much easier.  

2.  Trace your circles.  I used a spool of ribbon as my tracer and a disappearing fabric marker to make the circles.  


3.  Cut out the circles.  I had to take breaks while doing this.  I did a yard at a time.  


4.  To make the puffy circles for the poms, first fold the circle in half.  


5.  Then fold the fabric in half one more time.  


6.  Now, take a sewing pin and put it through the corner of the fabric.  


7.  Pin it into the styrofoam ball.  Once it's in, fluff it out a bit.  I pinned them in groups of 4 to make sure the area was covered and all pieces were fluffed out.  


8.  Continue until the entire ball is covered.  It took me about 3 nights to finish all of the balls.  I probably spent 2-3 hours each night working on them.  


To hang them up, I just used grossgrain ribbon, sewing pins and a tack. I cut the ribbon the length I wanted to hang them from the ceiling.  Then I pinned one end of the ribbon into the styrofoam, I used about 10 pins to keep it in.  Then, I took a clear tack and stuck it into the ceiling.  I used 2 tacks for the bigger ball.  I will probably switch to nails eventually, but I did this on my own and didn't want to be 8 months pregnant, standing on a chair trying to hammer something into the ceiling.  I already caught enough flack for putting them up myself with tacks.  


Do you like this project?  Share it with your friends! 


Blog Design by Get Polished