Showing posts with label Fall Favorites. Show all posts

Friday, September 30, 2016

Perfectly Moist Pumpkin Bread


  • As soon as September rolls around, all things pumpkin are fair game in my house. Pumpkin cookies, pumpkin bread, pumpkin candles, pumpkin decor, pumpkin soap, pumpkin body wash and so much more. I'm one of those crazies. One who looks forward to fall every year. One who has her fall clothes lined up even though it's still hitting 90 degrees each day. I long for fall. Fall makes me happy. 
To celebrate the start of the season, I did some baking last weekend. First up was pumpkin bread. Even though I've made many different kinds of pumpkin bread before, I decided to stick to an original recipe. One with nothing added in, just moist pumpkin bread. It was the right way to kick off fall. I enjoyed the bread in the afternoon with my coffee on the weekend and every morning for breakfast. 

This is one of those recipes that you have to make every year. One your neighbors will be asking for time and time again. Enjoy! 


Ingredients: 

    • 1 cup pumpkin puree 
    • 1/2 cup white sugar
    • 1/2 cup brown sugar
    • 2 eggs
    • 1/2 cup vegetable oil
    • 1 teaspoon vanilla
    • 1 cup all-purpose flour 
    • 1/2 teaspoon salt
    • 3/4 teaspoon baking soda
    • 1/2 teaspoon baking powder
    • 2 teaspoons ground cinnamon
    • 1 tsp pumpkin pie spice
    • 1/4 teaspoon ground ginger
    • 1/4 teaspoon ground nutmeg
    • 1/8 teaspoon ground cloves
*2 tbs brown sugar for the topping

    • Directions: 

    • 1. Preheat oven to 350ºF and grease a loaf pan. 
    • 2. In a large bowl, mix together pumpkin, sugars, eggs, oil and vanilla. Set aside. 
    • 3. In a separate bowl, mix together the flour, baking soda, baking powder and spices. Set aside.  
    • 4. Add the wet ingredients into the dry ingredients, mixing as you go. Do this until both the wet and dry mixture are combined. 
    • 5. Pour mixture into the loaf pan. 
    • 6. Bake for 45-55 minutes or until toothpick comes out clean. 
    • 7. Cool before removing from the pan onto a baking rack. 
    • 8. Enjoy! 


Tuesday, November 4, 2014

Pumpkin Chocolate Chip Brookies

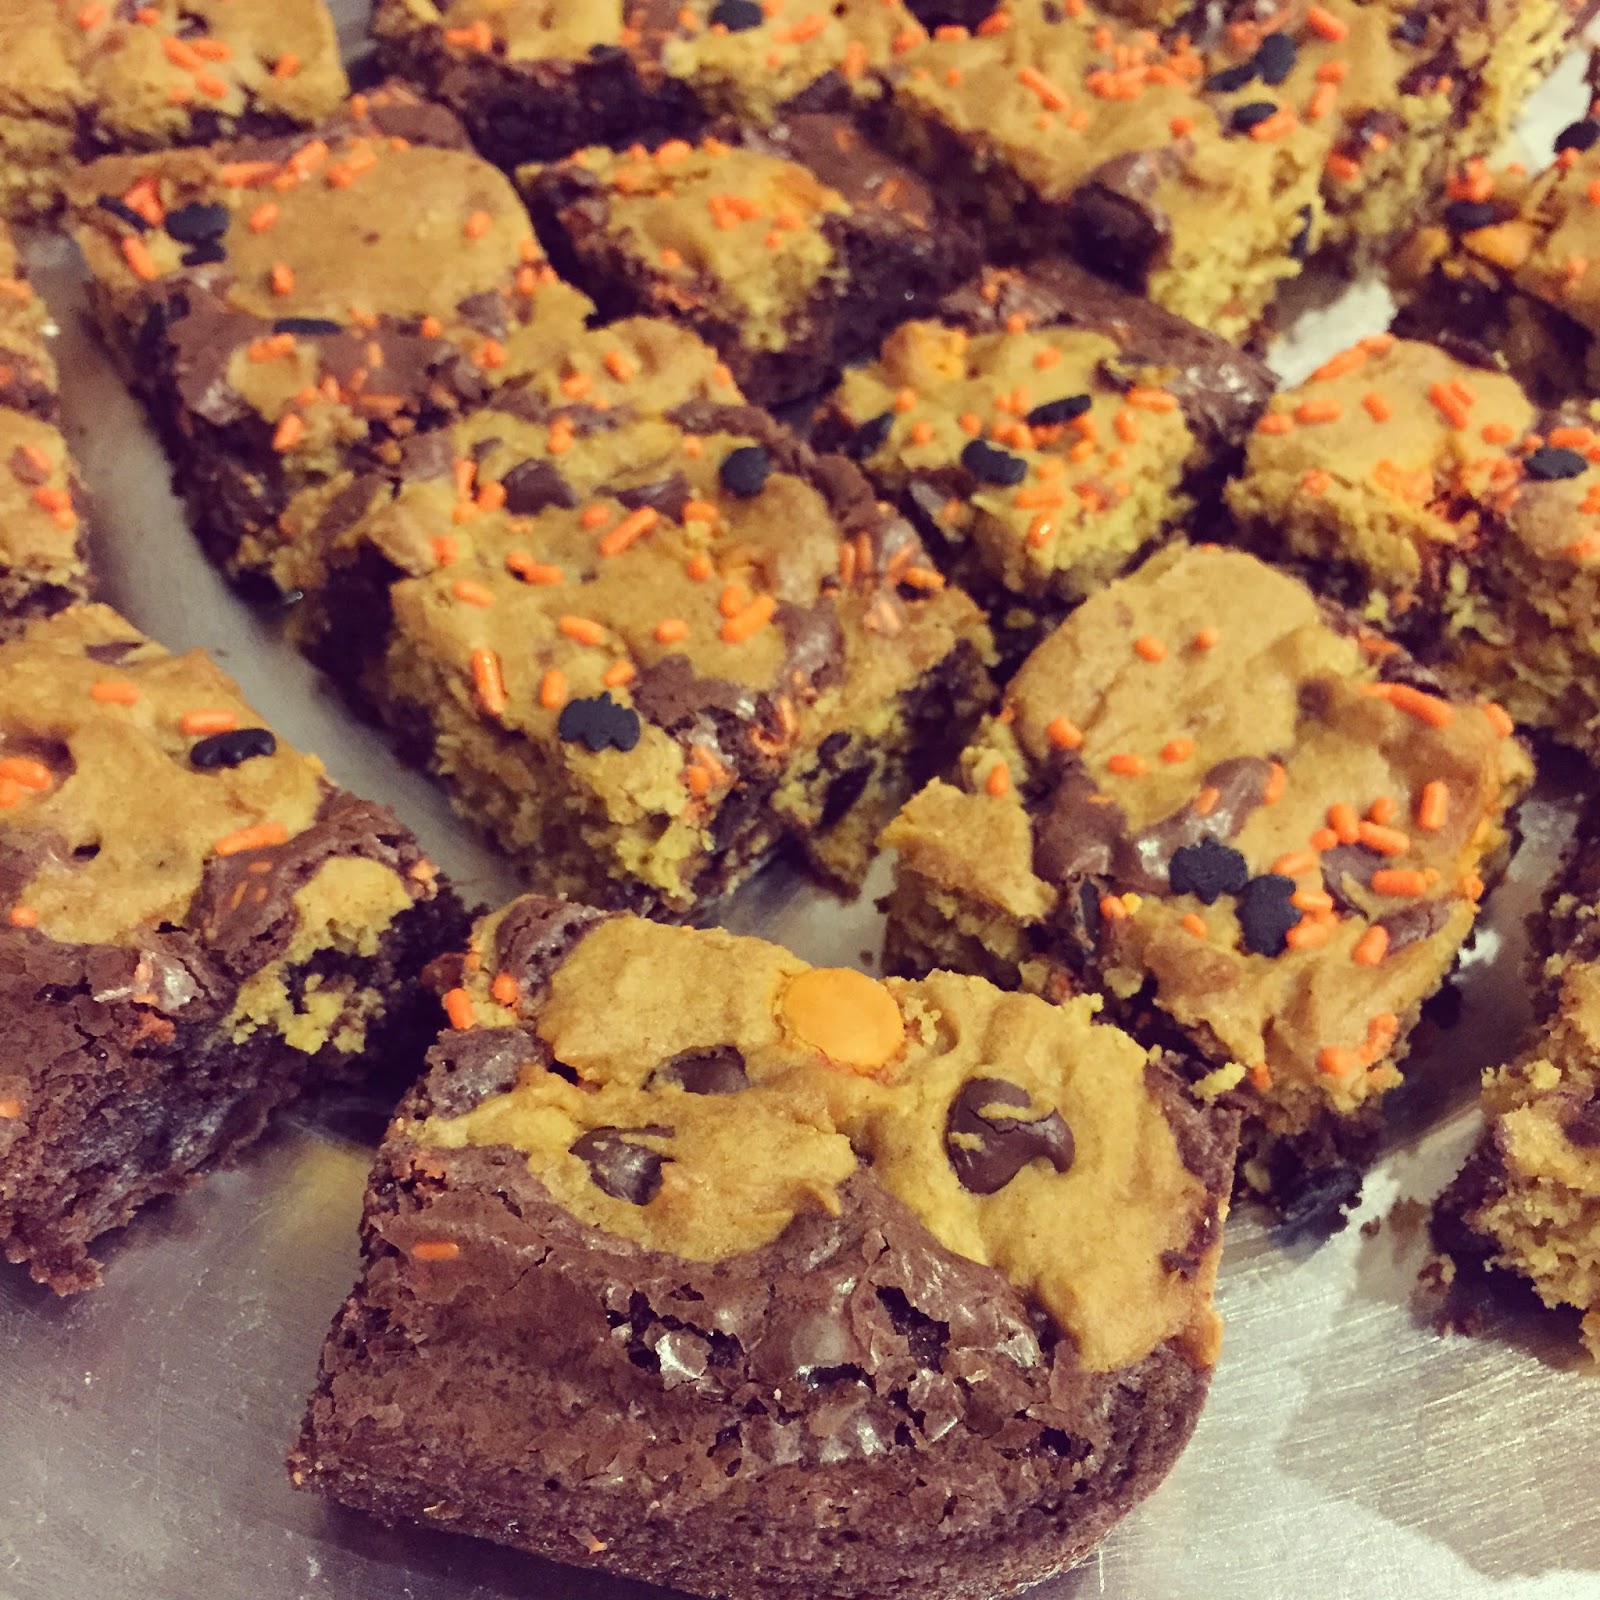
Brookies. Have you heard of them before?  A brownie and a cookie mixed together. Yup. It's as amazing as it sounds. 

This past Thursday, I realized I hadn't crossed off many things from my fall baking list. Yes, I made a list of things I wanted to make. I do this a lot. It's the only way I get things done. I also realized that I had yet to send a fresh baked treat to work with hubs this fall. Since Halloween was the following day, I decided it was the perfect time to send some treats in with him. 

I used a boxed brownie mix for the brownie part of this deliciousness. I had a box in the pantry and went the easy route. If I had cookie dough in the fridge for the cookie part, I would have used that too. Unfortunately, I didn't. So I used the recipe below for the pumpkin chocolate chip cookie portion. 

Overall, it took me a little less than a half hour (with a little at my foot and one in the solly baby wrap on my chest.) Cook time was a half hour. Worth every minute. These babies were my kind of dessert. The best of both worlds all in one little square. I ate three right away and had to package the rest before I ate the entire pan. These are sure to be a hit at any gathering this season! 

Pumpkin Chocolate Chip Brookies
Adapted from Something Swanky 


Ingredients
    Brownie Mix with ingredients for brownies: eggs, oil water 
    For the Pumpkin Chocolate Chip Cookie layer:
  • 1/2 cup butter, softened
  • 1/4 cup granulated sugar
  • 1/2 cup brown sugar
  • 1/4 cup pumpkin puree 
  • 1 tsp pumpkin pie spice
  • 1/2 tsp vanilla extract
  • 1/4 tsp salt
  • 1/2 tsp baking soda
  • 1 1/4 cups flour 
  • 1/2 cup pumpkin spice baking chips
  • 1/2 cup semi sweet chocolate chips
Instructions

  1. Preheat oven to 350ºF. Grease a 9x13 baking dish and set aside.
  2. Prepare brownie mix as directed on the package. Set aside. 

  3. In a separate bowl, mix the butter, sugar, brown sugar, pumpkin puree, pumpkin pie spice, and vanilla.
  4. In another bowl, mix together the salt, baking soda, and flour. Add it to the butter/ sugar mixture little by little until the dough is formed. 
  5. Fold in the pumpkin and chocolate chips. 
  6. Pour half of the brownie mixture into the bottom of the baking dish. Just enough to cover the bottom of the dish in a thin layer. 
  7. Next, drop tablespoon sized balls of dough on top of the brownie layer. I used a medium cookie scoop to do this. I tried to evenly place them on top of the batter. Spread lightly with a knife or spatula. 
  8. Bake for 30-35 minutes, until a toothpick inserted comes out clean. Store in an airtight container for 3-4 days.


You'll have half of the brownie mixture left over. You can make another batch of the brookies or make some brownies. I decided to make 24 mini brownies using a mini muffin pan with the leftover batter. I baked them for 10 minutes at 350.  

Saturday, November 1, 2014

Chocolate Chip Pumpkin Bread

Pumpkin bread is a staple in my house during the fall months. If you come over for coffee, I'll most likely offer you a piece of pumpkin bread to enjoy with it. There is just something about pumpkin bread, coffee and the cool fall breeze that fits together. It's my idea of an ideal breakfast, or lately in my case, my mid morning snack. Here is a recipe for my favorite pumpkin bread. The combination of the sweet chocolate chips with moist pumpkin bread, topped off with spices is perfect for fall. Enjoy! 

Ingredients:

  • 1 1/2 cups all-purpose flour
  • 2 eggs
  • 1 cup sugar
  • 1 cup pumpkin puree
  • 3/4 cup vegetable oil 
  • 3/4 cup semi sweet chocolate chips 
  • 1/2 teaspoon salt
  • 1/2 teaspoon baking soda
  • 1/2 tsp cinnamon
  • 1/2 tsp pumpkin pie spice 

Directions:

  • 1. Preheat oven to 350. 
  • 2. In a large bowl, combine the flour, salt, baking side, cinnamon and pumpkin pie spice. Set aside. 
  • 2. In another bowl, mix the eggs, sugar, pumpkin puree and vegetable oil. 
  • 3. Add dry mixture to the wet mixture about a cup at a time and continue to mix. 
  • 4. Once batter is formed, fold in chocolate chips. 
  • 5. Pour into a greased loaf pan (mine was 8x4.) 
  • 6. Bake for 1 hour or until cooked through. 
  • 7. Cool for 10 minutes, then transfer to a finish cooling on a wire rack. 


Sunday, September 21, 2014

Turkey Chili with Cornbread Waffles

Yesterday, the weather dropped a bit here in Florida. The high was just over 80 degrees. I'm sure that is still hot for many of you, but I'll take any taste of fall I can get. As soon as I looked at the forecast for the day, I knew it would be a perfect day for the first crockpot chili of the season. 

Turkey chili is a staple in our house during the fall and winter months. I make it every other week, using pretty much the same recipe. Last night, I decided to use the waffle iron to make cornbread waffles to go with our chili after seeing it on Pinterest. 

I have to say that this is the best way to serve cornbread with chili. There was cornbread in every bite of chili I had and it was absolute perfection. Mom, dad and hubs agreed and said this needs to be our Sunday night football dinner from now on.  Success! 

Turkey Chili 

Ingredients: 
1 pound ground turkey
1 (14 oz) can diced tomatoes 
1 (8 oz) can tomato sauce
1 (6 oz) can tomato paste
2 (16 oz) cans pinto beans
1 cup chicken broth
1 packet of chili seasoning
Salt and Pepper
Cheddar cheese, sour cream, chopped green onions to garnish 

Directions: 
1. Season your ground turkey with a little salt and pepper.  Brown it over medium heat until its cooked through and no longer pink.  
2. Remove from heat.
3. In the crockpot, add the tomato paste, diced tomatoes, tomato sauce, chili mix and chicken broth. Stir to combine. 
4. Add ground turkey to the tomato mixture in the crockpot. Stir to combine. 
5. Cook on low for 6-8 hours.  
6. When it's time to serve, spoon your chili over waffles (see below for directions) and garnish with your choice of toppings. 


Cornbread Waffles 

I used 1 box of Jiffy cornbread mix and followed the directions on the box to prepare them. The only thing I added was 2 tsp of chili powder to the mix to give the waffles an extra kick. 

Make sure your waffle iron is hot and ready. Pour the cornbread batter onto the waffle iron and close to cook. I used a large cookie scoop for the batter and made 5 medium waffles for this meal. Our waffles took about 4-5 minutes to cook through. 


Friday, January 24, 2014

Crock Pot White Chicken Chili

A friend posted this recipe on her blog this week, I knew I had to make it.  I already had leftover rotisserie chicken in the fridge, so it was a quick trip to the grocery store for the remainder of the ingredients. The original recipe was stove top, but looked easy enough to be done in the crock pot. The dish turned out more like a soup but it was delicious.  I knew it would be a repeat winter meal when hubs finished his bowl in no time.  We had it the next night for leftovers, I looked forward to it all day.  It was still just as good! Enjoy!


Crock Pot White Chicken Chili

Adapted from Gimme Some Oven

Ingredients

  • 4 1/2 cups chicken broth
  • 4 cups cooked shredded chicken
  • 2 (15-oz) cans Great Northern beans, drained
  • 2  7 oz cans of salsa verde 
  • salt and pepper to taste 
  • 1 avocado (sliced)
  • 1 cup mexican cheese mixture 
  • chopped cilantro (about 1 TBS)
  • tortilla strips (I used Archer Farms southwest tortilla strips (salad toppers) 

Directions

Place chicken broth, chicken, beans and salsa verde in the crock pot, stir to combine.  Cook on low for 6-8 hours.  When it's time to serve top with cheese, avocado, cilantro and tortilla strips.  


**I added my cheese to the bottom of my bowl and poured the soup/chili over the top.  It melted and mixed in perfectly that way**

Wednesday, November 2, 2011

Pumpkin Rice Krispie Treats


This treat has been floating all over pinterest lately. Here is the recipe I used as my guide.   I decided to make them at the last minute to take to work for my team. I followed normal rice krispie treat directions.  After the marshmallow is melted, I added yellow and red food coloring to create the orange marshmallow.  I added the rice krispies and made sure they were coated with marshmallow.  After the mixture had cooled a bit I shaped a handful of the mixture into a round ball.  I used a Tootsie Roll as the stem and stuck it in the middle of the ball.  I used green icing to make the leaf and vine.  I will say that these were a lot easier to make than I thought they would be.  Enjoy! 


Blog Design by Get Polished