Showing posts with label Tutorial. Show all posts

Wednesday, December 22, 2010

Candy Trains


I make these every year with my students.  They are always a great hit and yet, so simple to make.  I usually pair it with hot chocolate and The Polar Express movie.


You'll Need:
1 roll of lifesavers
1 pack of gum
1 Hershey's kiss
1 caramel square
4 mint candies


Directions:
Hot glue the roll of lifesavers onto the gum (on top).
Glue the kiss on the "front" of the train and the caramel on the back.
Finish it off with the mint candies as wheels.
That's it!


Here's another variation I've also tried:

The bottom piece is gum, mints as wheels, a Starburst as the front and a chocolate candy directly behind the Starburst. 

Tuesday, December 21, 2010

Ribbon Tree


Ribbons seem to be quite the hype lately in the DIY world.  I've seen ribbon wreaths, ornaments, frames, etc.  A friend of mine brought me a Michael's booklet with an adorable ribbon tree inside.  She said it was right up my alley... she knows me pretty well!  I couldn't wait to get started on this project. There wasn't directions on the booklet, so after one failed attempt- I think I got it right.  


Materials: 
Styrofoam cone (mine was the smallest size that came in a pack of 2 from Michaels)
2 spools of gross-grain ribbon (I used red and green)
Hot glue
Scissors
Additional festive ribbon for bow

Directions: 
1. Cut 4 inch strips of red and green ribbon (I cut the whole spool)
2. Fold ribbon in half. Then move the top piece down a bit, so you can see both ends.  Put hot glue on the top of the ribbon, make sure to get glue on both ends.  
3. Starting from the bottom, hot glue the ribbon to the cone. When you glue your second piece, overlap the ribbon just a bit.  This will prevent the white part of the cone from showing.  You can make a pattern with your ribbon, I chose to alternate the red and green. 
4.  Cover entire cone with ribbon.  
5. Finish it off with a festive bow.  


Happy Crafting!  


This was my first attempt.  I glued the ribbon to a piece of ribbon and wrapped it around the cone.  The ribbon spread when I wrapped it and showed the white cone.  Lesson learned.


Friday, November 19, 2010

Personalized Wooden Letter


A great way to add a personal touch to your home decor. This would be a great engagement, wedding or engagement gift. I had looked at loads of places for a wooden H but never had any luck finding one that matched our decor. This was my first experience with Mod Podge...loved it! I already have added these letters to my list of gifts to create for the holidays! Happy Crafting!
Here is the tutorial I used as a guide.

1. Paint letter preferred color. This will be the background color. It will be noticeable from every angle except the front. You don't have to paint the front of the letter since you will be covering it with paper, but I would paint a little past the edge incase your paper doesn't cover all the way. Let letter dry.

2. Choose scrapbook paper for front of the letter. Trace paper and cut out.

3. Use mod podge to adhere the paper letter to the wood. I first painted the paper, put it on top of the wood then covered the whole thing with my new best friend-mr. podge.

4. Let dry and enjoy!

Sunday, October 31, 2010

Diaper Cake Tutorial


A lot of my friends have just started having babies and getting pregnent, which means more baby showers for me. Recently, I saw pictures on Facebook of a diaper cake at a shower a friend of mine went to. I was instantly obsessed. I was in love with how cute they were, loved that they could be personalized for each mama to be and it was something I could definitely do. It was right up my alley and I couldn't wait to make one for an upcoming baby shower for my friend Danielle. I did a lot of online searching and put everything I learned from many different sites together to create my three layer diaper cake.

Materials:
1 box of size 1 diapers (I used Pampers Swaddlers 90pk)
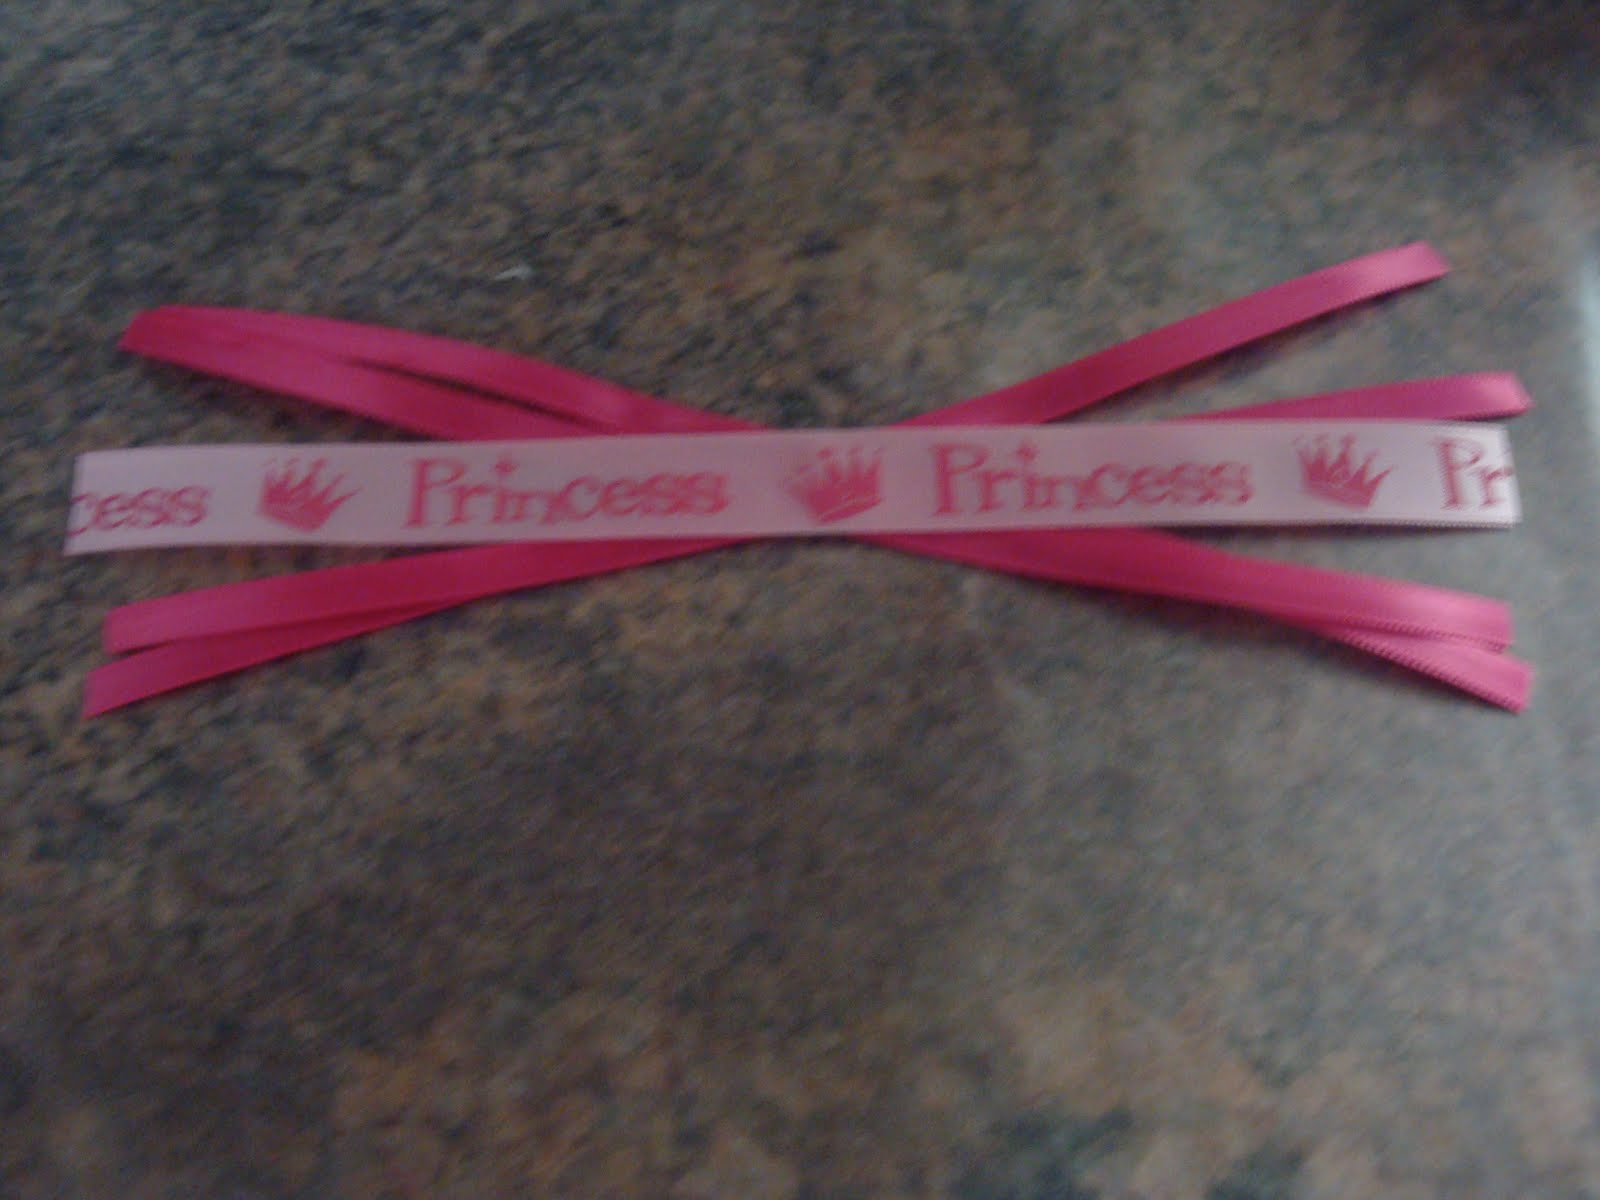
1 spool of thick ribbon
1 spool of thinner ribbon
1 stuffed animal or bottle for the middle
Rubber bands
hot glue gun
Plastic cake plates (3 sizes, 1 for each tier)

Directions:
1. Get plate ready to put diapers on.
2. Unfold diapers.
3. Roll up diapers.
4. Secure with a clip.
5. After doing 3 diapers, wrap a rubber band around a set of three.
6. Line up diapers around cake pan. Once layer is completely filled, wrap a large rubber band around the entire layer. Repeat for each layer.

7. On the top layer, I removed a group of diapers in order to make space for my lion topper. A bottle would fit in this space as well.

8. Wrap layers with ribbon. I needed another pair of hands for this task. I used hot glue to secure the ribbon, but did not hot glue the diapers. I glued the ribbon on top of each other. When you do this, make sure to use a thick ribbon to cover the rubber bands. Repeat with each layer, using a variety of ribbon if desired.
9. Stack layers on top of each other. I made bows to add to the center of where each piece of ribbon met in the middle. Here is the tutorial for making bows.
*I did not use anything to keep the layers together because I wasn't shipping the cake and it was very sturdy as is*

Tuesday, October 5, 2010

Bow Holders


Now that I am spending a lot of time making bows, it only makes sense to have somewhere to put them. What I love about this creation is that they can be personalized. I'm going to start selling my bow creations soon and think I'm going to add these to my inventory.

Materials:
1 piece of ribbon, cut to the length of your choice (my preference is 20in-30in)
1 D ring- I used 1 1/4in.
hot glue
Wood decoration for child's initial or name (I find these at craft stores and they go on sale often & they are painted already)
Directions:
1. Fold ribbon over D ring and glue.
2. Personalize the wood decoration with initial or name of choice. I used a new Sharpie paint pen, LOVED it!

3. Glue wood decoration onto the ribbon. I've made one with the D ring hanging out and another hiding it behind the wood. I recommend putting the glue on the wood and positioning from there.
4. Fray check the ends of your ribbon, let dry.


Monday, August 16, 2010

Ribbon Hair Ties


If you're looking for an EASY way to dress up your child's hair ties, you've come to the right place! The only materials I needed for this project were a glue gun, hair tie and ribbon. Use 4-8 pieces of ribbon that measure 6-8 inches long for these ties. You will also need one piece of ribbon that is 2-3 inches for the center.
Using the hot glue gun (carefully) glue the pieces of the ribbon together in the center of the ribbon. I took my thickest piece of ribbon and glued the other pieces onto it. I overlapped them so that they would noticeably stick out.
Take the smaller piece and glue it in the middle of the ribbon.
Put the hair tie on top of the middle piece you just glued. Glue the ribbon around the hair tie (wrap it around and glue it down).

TADA...your finished product!**This hair tie was measured to 10 inches. I suggest 6-8 inches, this one was too long.
Another Example:

Wednesday, May 19, 2010

CD Covers


There have been many occasions lately, where I have given CD's to others. Whether they've been gifts or contained pictures from a fun weekend, I've been burning away. I got tired of buying cases for them to go in and I don't like the clear sleeves, so I decided to make my own case. After a few failed attempts, I finally was able to get the case I wanted, and I loved the way they turned out. If you'd like a template for the CD Cover, email me at leah@qfadtampa.org. I'd be happy to send you one.

Materials:
paper cutter
1 piece of card-stock (12x12)
Stickers to decorate


Tuesday, May 18, 2010

Wine Bottle Tags


A student of mine gave me a water bottle tag this year and I loved the idea. I decided to copy the design and use it for wine bottles. Who doesn't like a good bottle of wine for a gift? This is a way of putting a card on the bottle, with it looking cute at the same time. Below you will see the materials I used to make the tag.

Directions:
1. Cut a piece of card-stock to 2 inches wide by 6 inches long.
2. Fold the card-stock at the 2 1/2 inch mark (from the top).
3. Cut a piece of scrapbook paper that is 2 1/2 inches long and 2 inches wide.
4. Glue scrapbook paper onto the top of the card-stock. The decorative scrapbook paper should be the same length as the card-stock up to the fold.
5. Using a 1 inch circular punch, punch a circle on top of the scrapbook and card-stock layer. You now have your tag.
6. Decorate your tag as you wish.
** In this example I used a polka-dot punch with layered orange paper. I also attached a flowed using a brad to the upper right corner. You can write a message on the tag, or stamp it with a special message.

I am looking forward to creating many more tags this summer for various special occasions.

Blog Design by Get Polished